Hi everyone, you may have seen my customs around the Facebook pages or over on Instagram. I’ve been making customs for just over 5 months now. It’s been an interesting journey, and I am the first to admit that when I first started, my customs looked awful! Yes. I am my own worst critic. Which is a good thing, as I always push myself to do even cooler customs than that last time!
Most of my customs had been Superhero pops. It wasn’t until the hype started around Star Wars: The Force Awakens that I decided to try out a few Star Wars customs. I made a few metallic patina style Star Wars customs and people loved them, so I decided to start trying other styles other than just metal effects. I started creating characters that hadn’t been made into pops yet, replicating Hikari styles on pops and turning beloved Star Wars characters into Freddy Funko style pops.
I’ve been asked a few times to show how I do it. What’s the process?
Well I’ve been lucky enough to have been offered the chance to write a few pieces for this blog and show just how I made my customs. The first one I’m going to show you is the Hikari inspired dirty Bloody Wampa pop! Vinyl.
This was my first ever 6 inch pop custom. I’ve always felt the Wampa pop deserved to be a bit dirty and bloody. It wasn’t pristine white in the movie, so why should it be on the Pop! figure?
It’s easy to presume I’d just take the pops out the box and paint a bit of blood on it. But that doesn’t allow for a quality finish. I have revealed the steps I took to make this Hikari Style Bloody Wampa Pop! below.
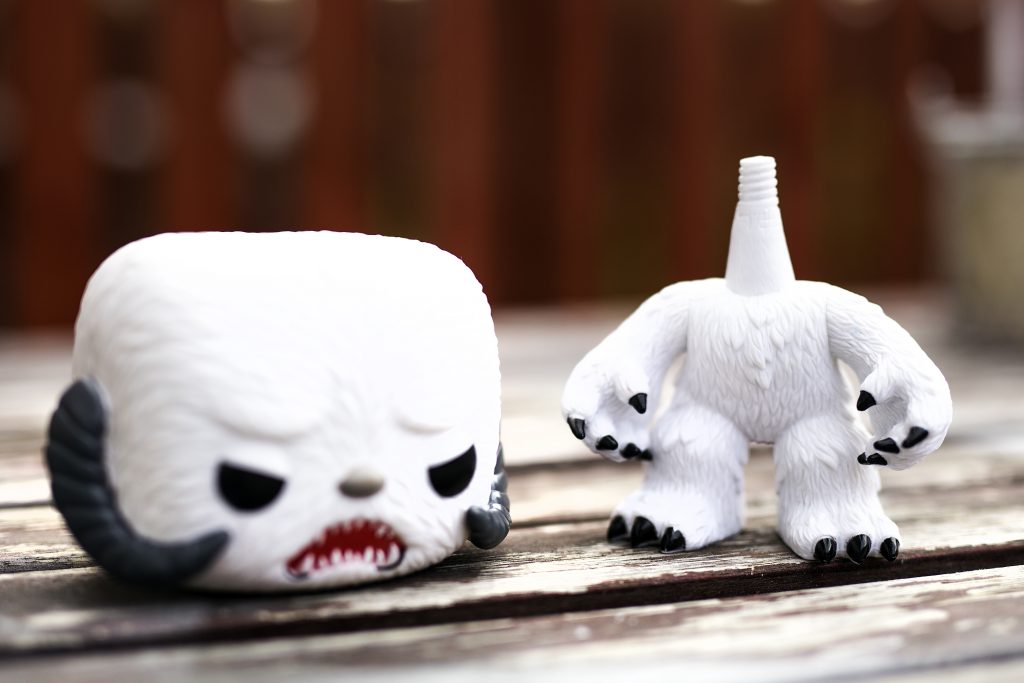
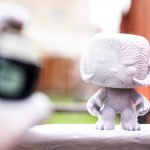
- Dissect the pop. This can be complicated with more detailed and intricate Pops such as Darth Vader and C-3PO. Luckily for this custom, I only had to take the head off.
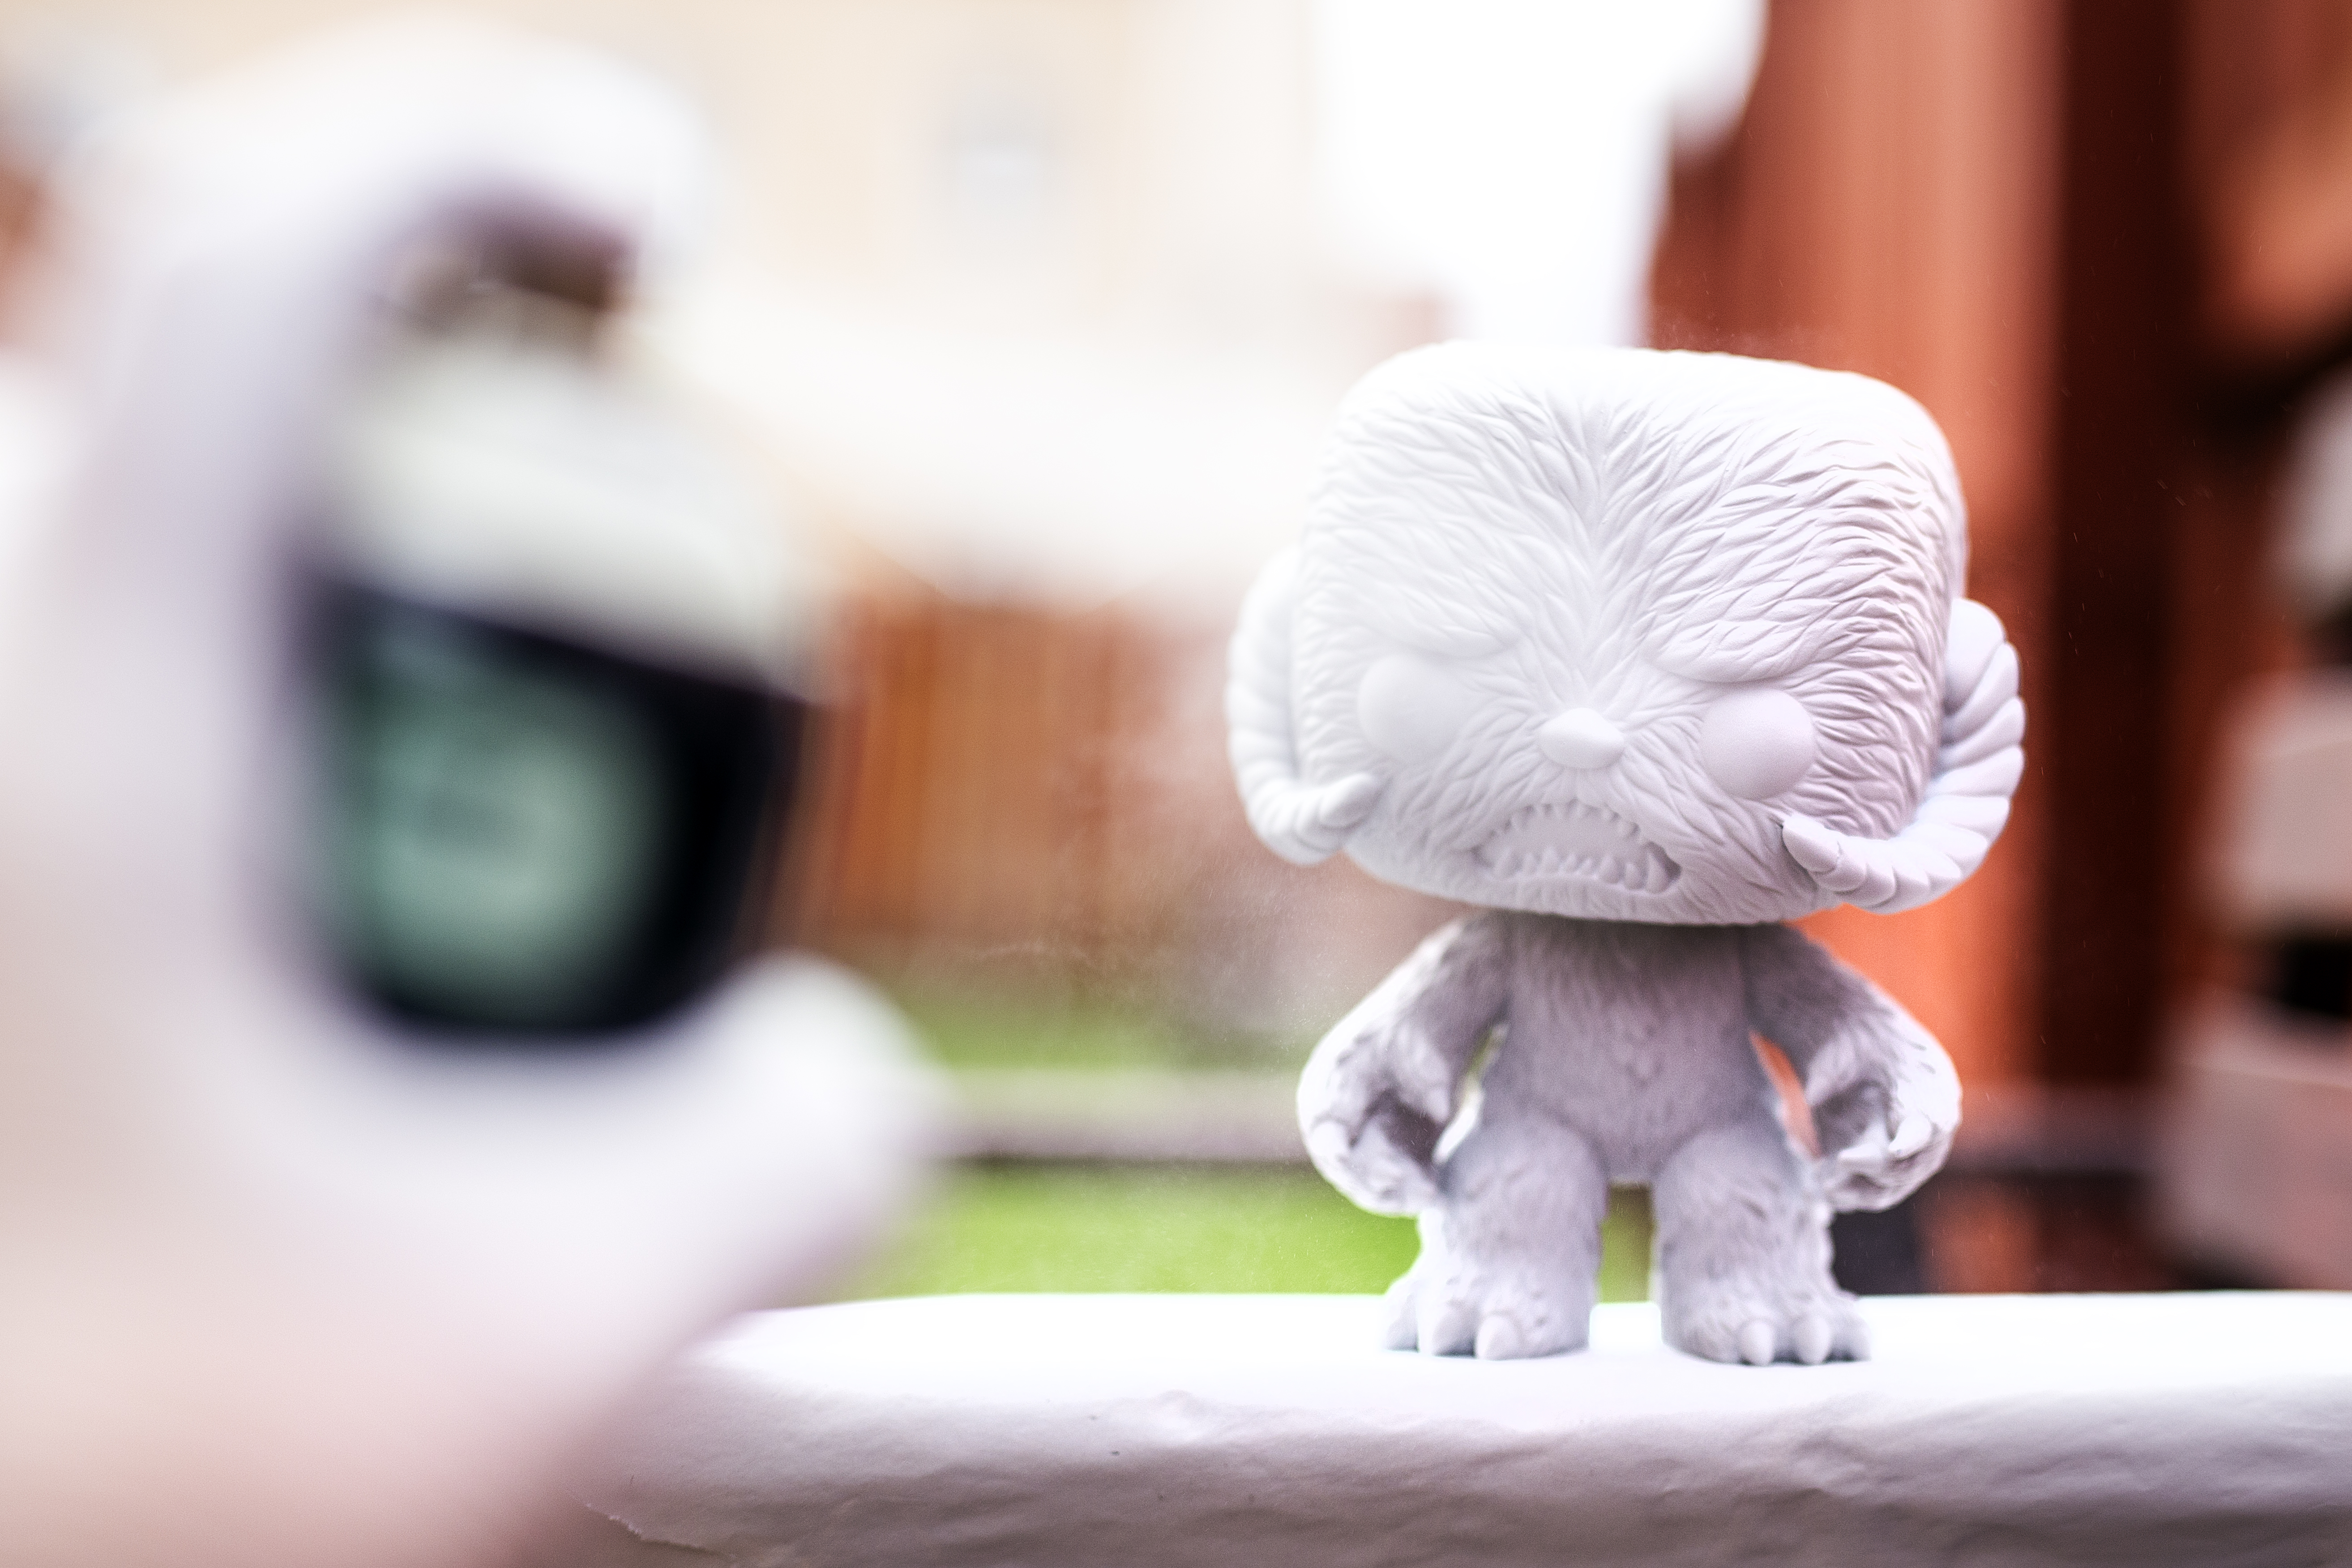
Images taken by Alan Drummond. No use without permission - Priming! This is essential for a nice smooth finish. I use a white primer for most of my customs. I love it when it’s a white custom I’m making, as it allows me just to prime and not have to use acrylic. It leaves for a factory smooth finish!
Images taken by Alan Drummond. No use without permission 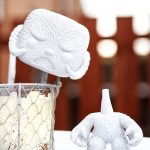
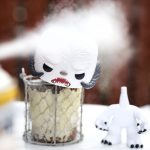
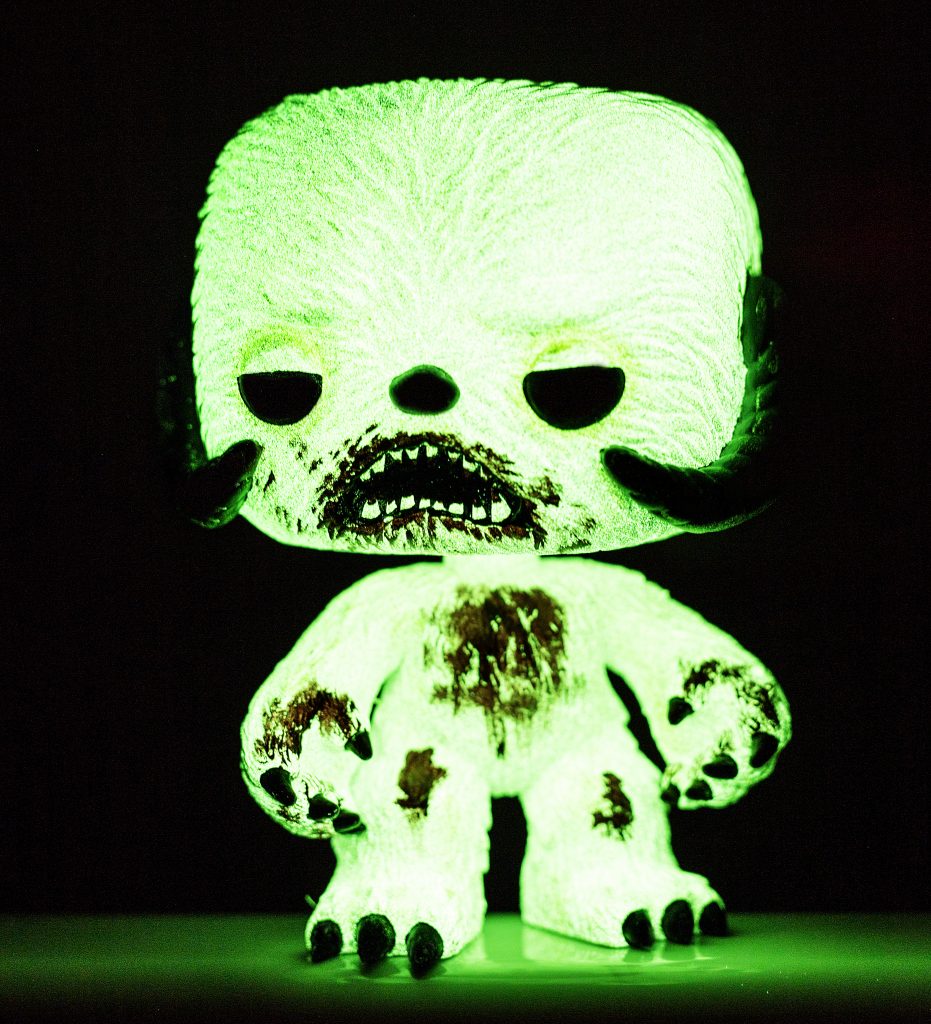
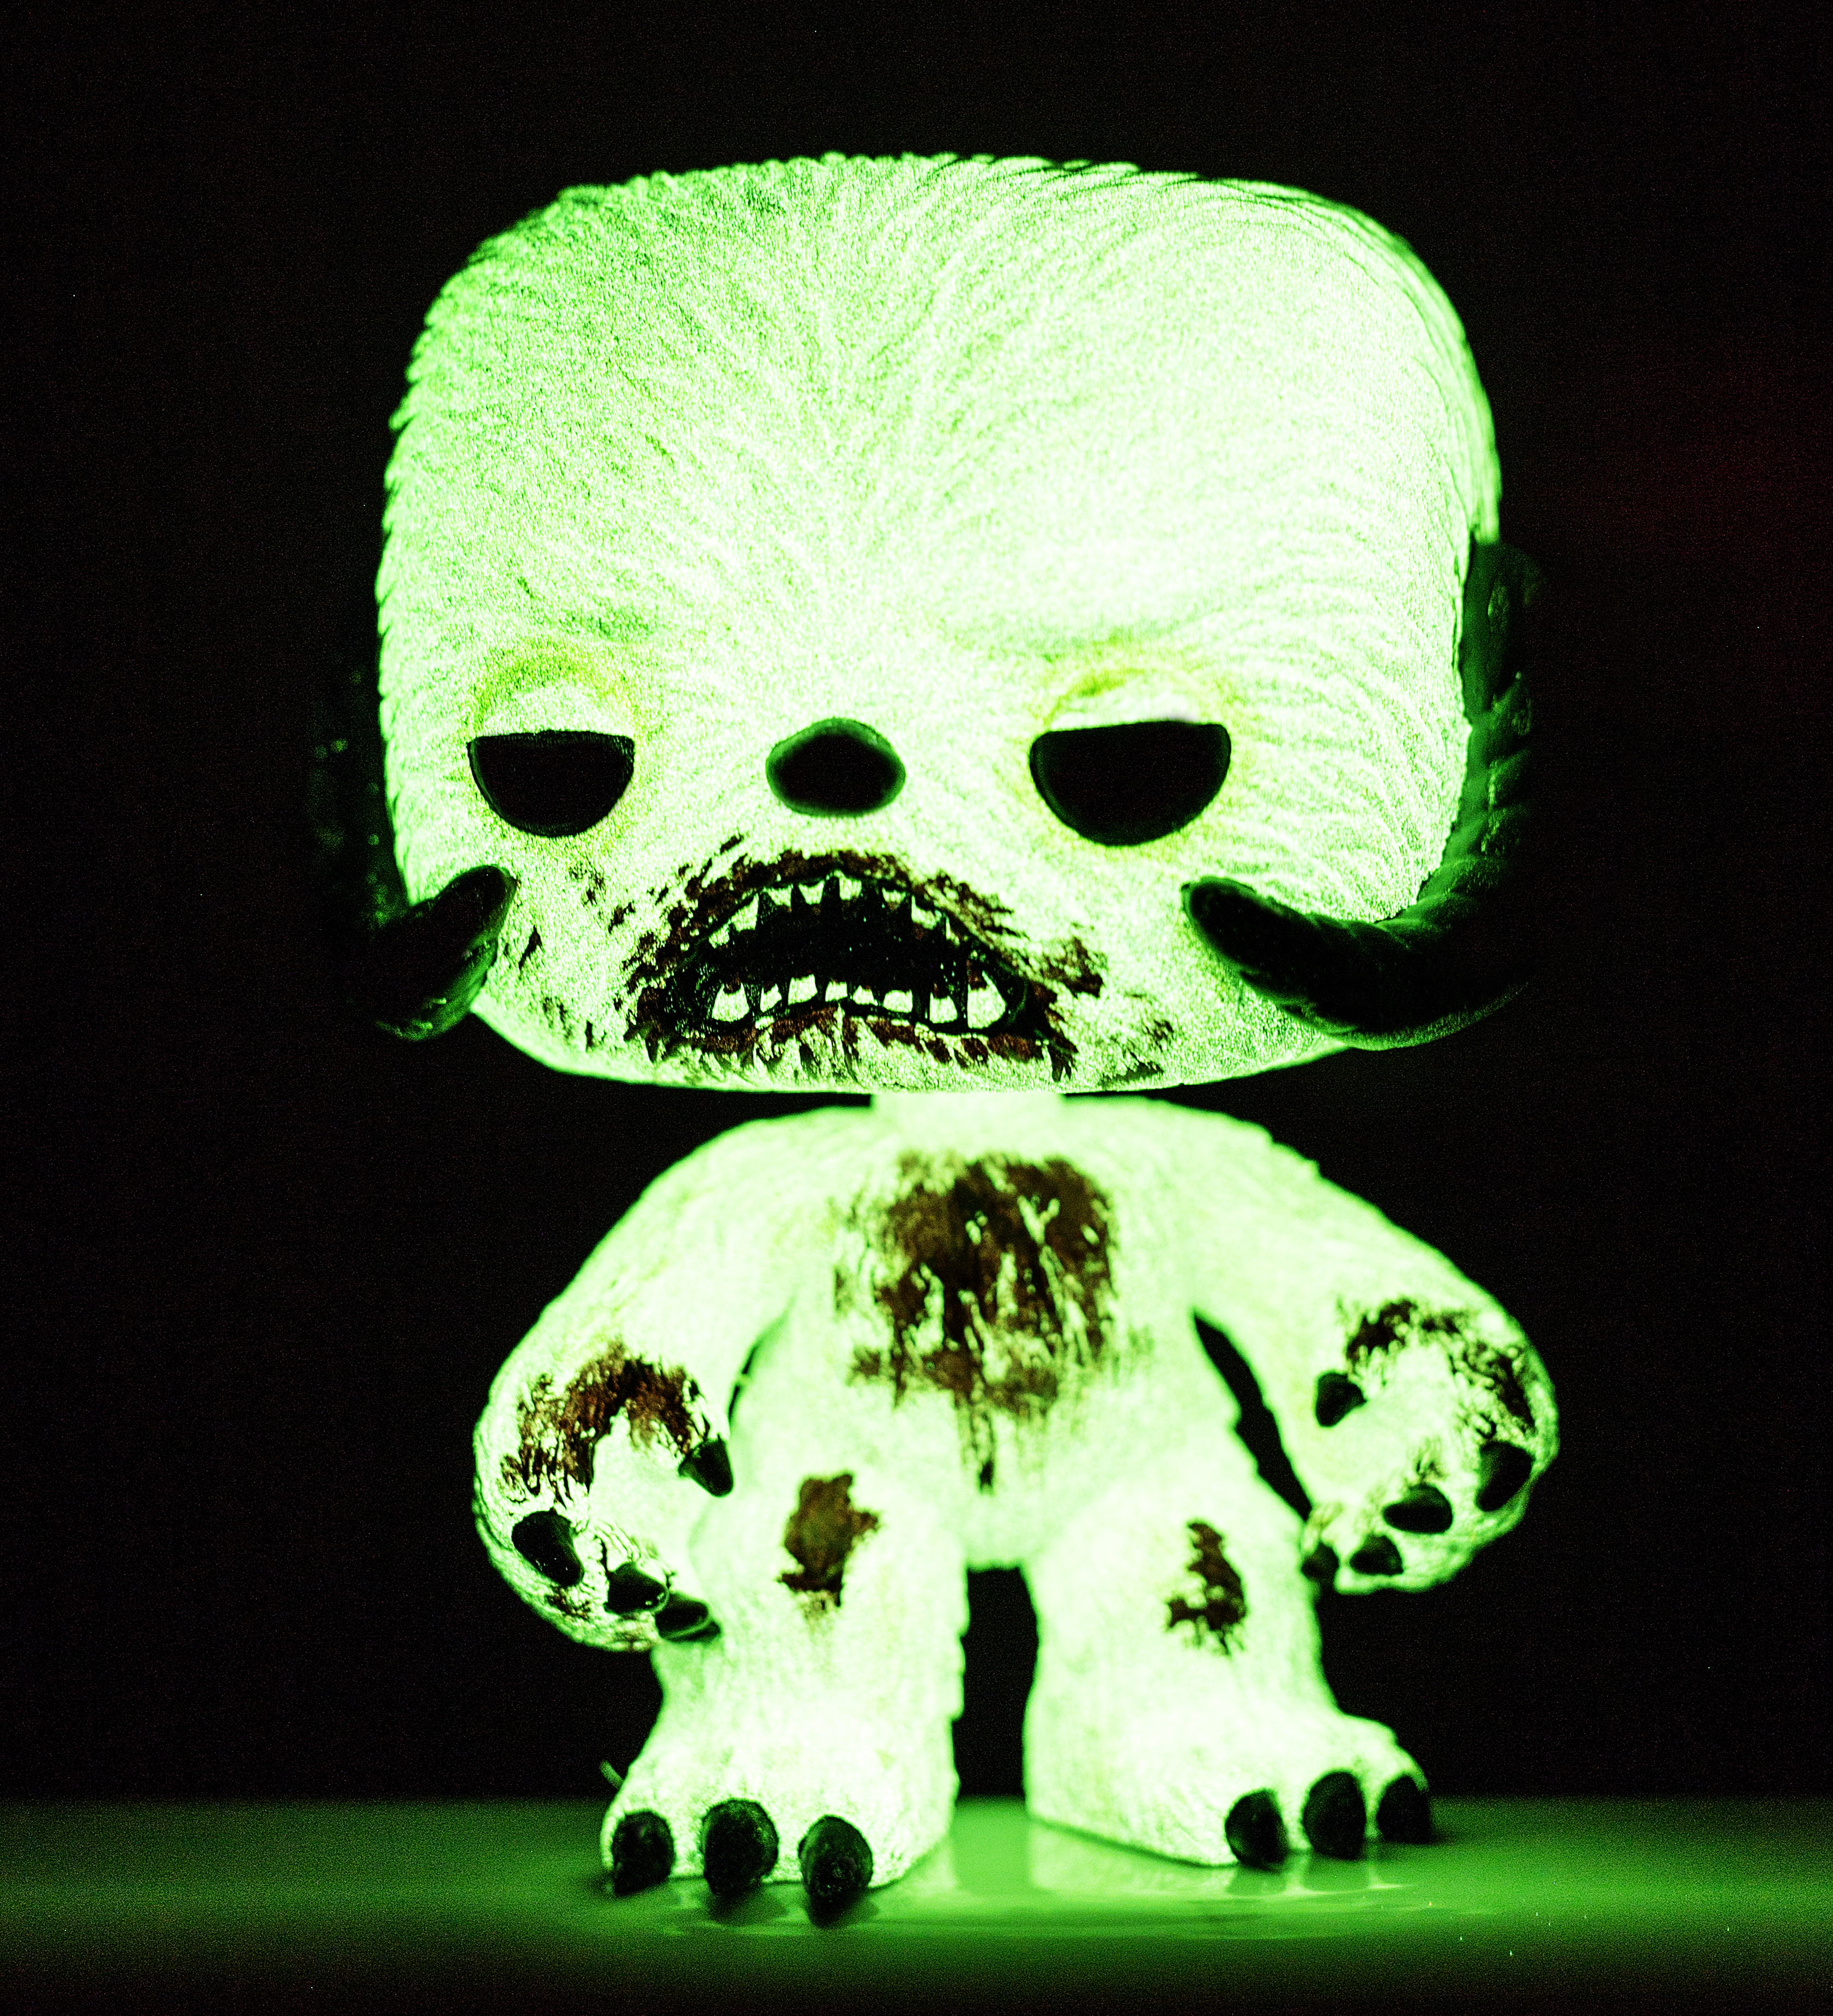
Images taken by Alan Drummond. No use without permission - Glow time! Once the primer has dried, I spray on my glow-in-the-dark paint. I’m a sucker for glowing things and I always have been. So even though the movie Wampa doesn’t glow, I feel it adds to the coolness of this custom.
Images taken by Alan Drummond. No use without permission 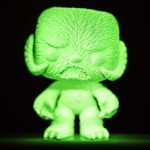
Images taken by Alan Drummond. No use without permission - Painting. I like to use the paints that are meant for Warhammer characters. I feel the paint isn’t too thick, which leaves a real smooth finish when you apply the paint. I paint in the areas that I had made white when priming: the horns, the mouth, the eyes and the claws. I mix a yellow and white paint to allow me a color that will bring out a dirty look to the Wampa’s fur. I get a large brush and dab it on the areas I want to look dirty. After this I give another coat of glow paint.
Images taken by Alan Drummond. No use without permission 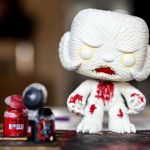
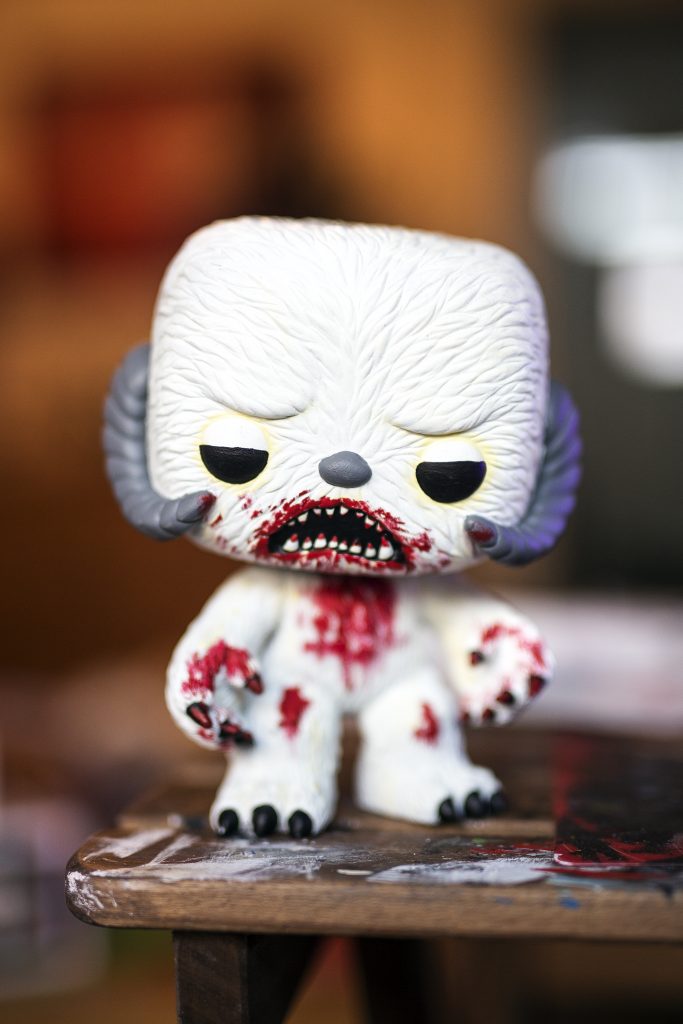
Images taken by Alan Drummond. No use without permission - Blood! This is the fun part. It’s super simple: red paint, anger, then you mix em both up….. Haha. This is the part where I add blood to the claws, mouth, chest and teeth.
Images taken by Alan Drummond. No use without permission - Boxing. After leaving my Pop! to dry for a few hours, I box it up and put my custom stickers on to the box.
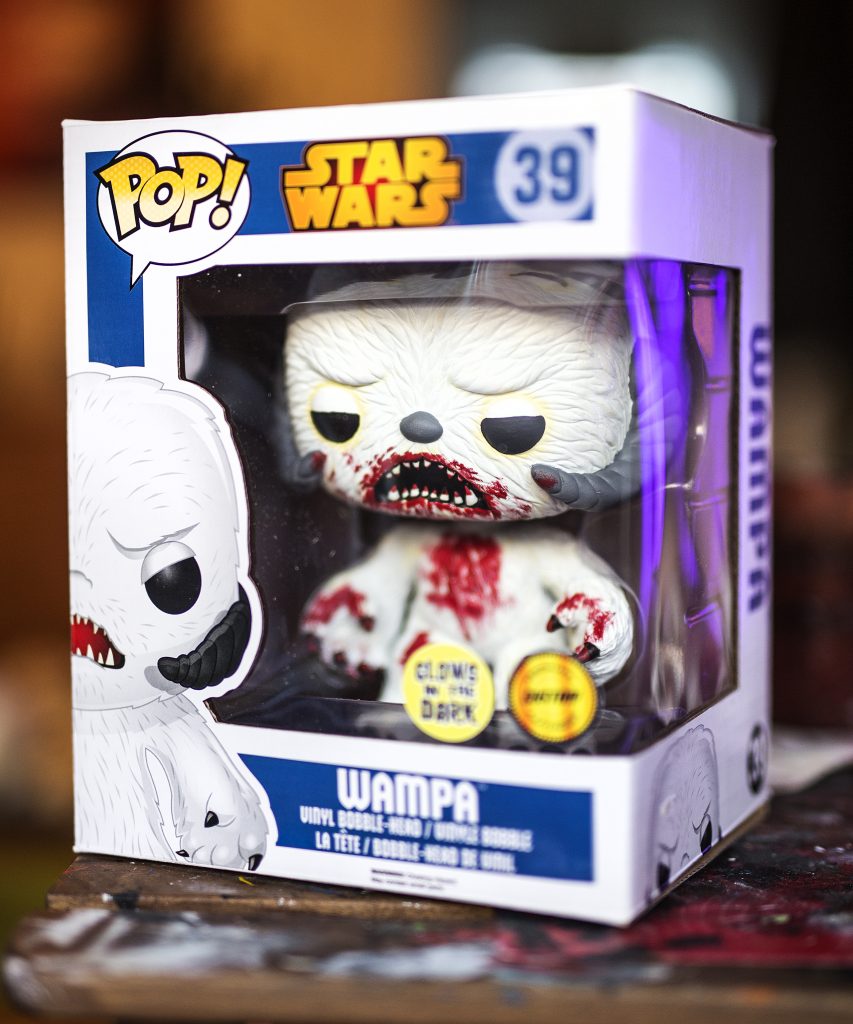
Images taken by Alan Drummond. No use without permission - Autograph. I always sign and number the bottom of my customs. Gives a little bit extra quality to customs I make.
Images taken by Alan Drummond. No use without permission


That’s the steps I take to make my custom Hikari style Bloody Wampa Pop! vinyl. Next time I’ll be posting some insight into how I made my custom Freddy Funko Darth Maul Pop! Vinyl.
Thanks for reading.
Check out my customs page and Instagram for more star wars related custom Pop! Vinyls.
www.facebook.com/Abbernaffycustoms
Instagram: Abbernaffy
Pingback:Custom Funko POP Star Wars Packaging is Gorgeous! - Outer Rim News